If you experience issues with the JVC TV remote, you most likely search for other ways to change the input. Remember that JVC TVs come in different operating systems, so the procedure for changing the source differs accordingly. The good thing is there are many remote alternatives to control the JVC TV, so switching the input is not a big deal. This guide explains all the possible ways to change the HDMI source on JVC TV.
Use the TV Button to Change Input on JVC TV
Most JVC TVs have control buttons on the bottom near the LED indicator. If you can’t see it, the buttons may be located on the rear side of the TV panel. You can use these buttons to switch channels, adjust the volume, and change the TV input.
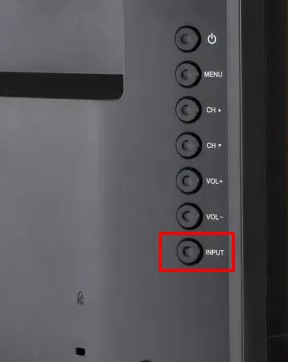
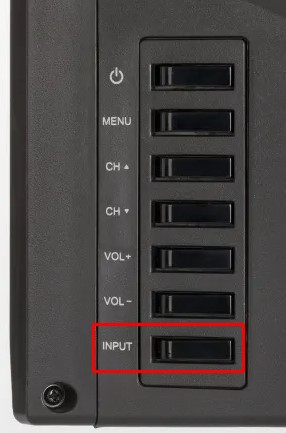
Press the INPUT button on your JVC TV panel to view the menu. Scroll down to the menu options by pressing the CH+ and CH- buttons and highlight the input you want. After that, press the VOL+ and VOL- buttons to change the source.
Some JVC TVs will only have a single Power button on the TV unit. But that doesn’t mean you can’t change the input on your JVC TV. It is a multi-functional key, so you can use it to switch the source on your JVC TV. Ensure the JVC TV is turned on by long-clicking the Power key. After that, short-click the Power key to view the menu. Continuously press the Power key until you highlight the desired input. Once highlighted, the input will be changed automatically.
Use the IR Blaster Remote App to Change the Input on the JVC TV
There is no official remote app for JVC TV. However, you can download third-party apps on your Android phone from the Google Play Store for free. The app works with all Android smartphones that have an IR blaster feature. You can use the following remote apps to change the input on the JVC TV using an Android phone.
Upon installing the remote app, launch it and choose a remote. When the buttons appear, tap the INPUT or SOURCE icon to view the external devices. Select the HDMI source to change it.
Use a Keyboard to Change the Input on JVC TV
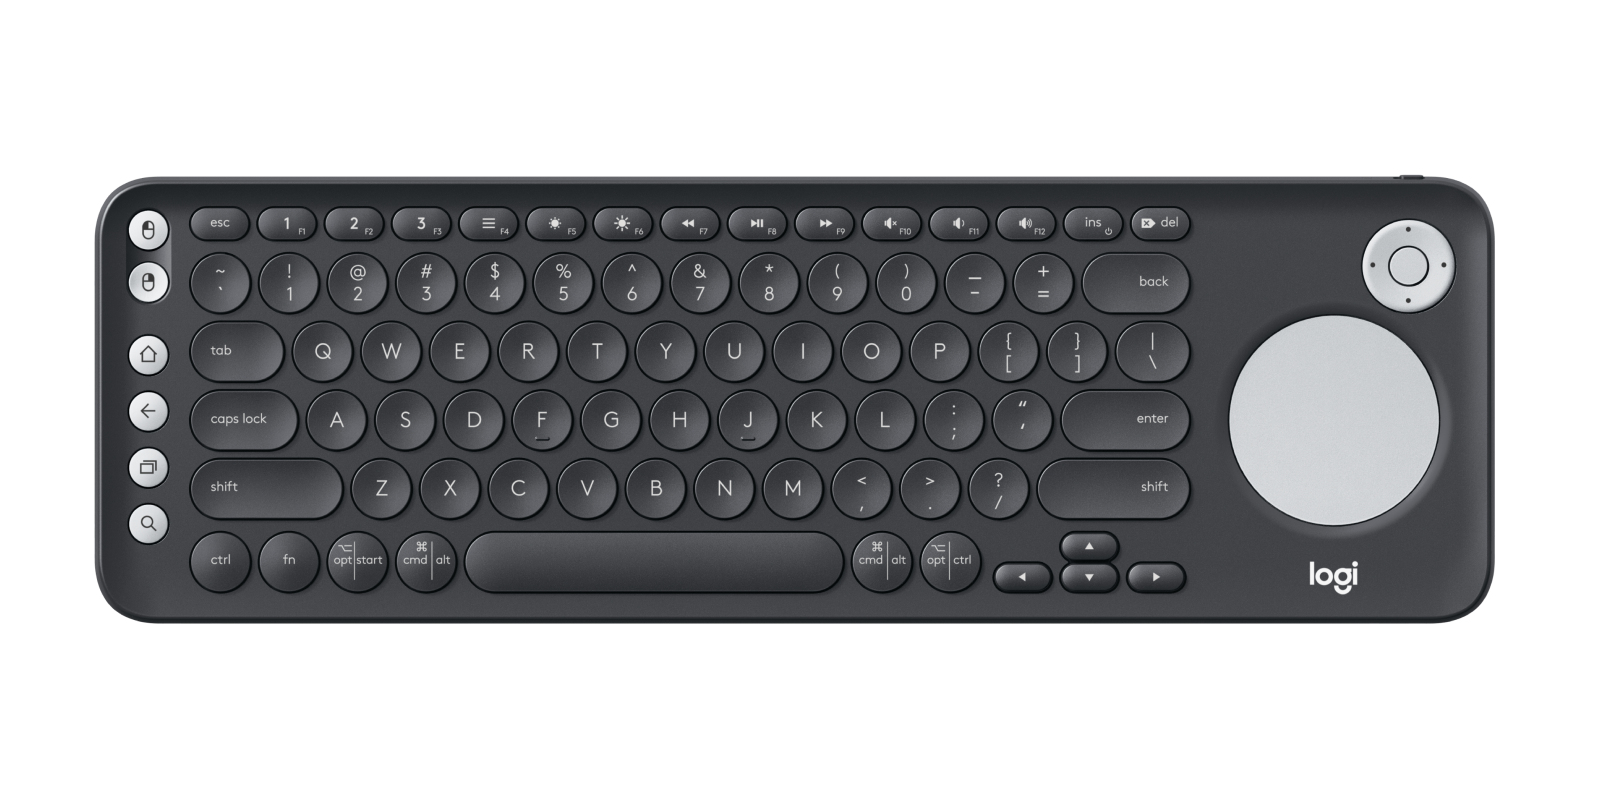
Generally, JVC Smart TVs have two or more HDMI ports to connect streaming devices, soundbars, STBs, etc. Therefore, you can plug in a wireless keyboard or mouse to control your Smart TV. Using the keyboard, you can change the input on the JVC Smart TV without a remote. We recommend buying a Logitech K600 TV keyboard from Amazon, which has a touchpad for a convenient mouse search.
Use Voice Commands to Change Input on JVC Roku TV
JVC Smart TV supports Google Assistant, Amazon Alexa, etc. So, you can say a voice command to change the input on your JVC TV. To make it work, you must connect the JVC TV to WiFi, which should be the same as your smartphone.
For JVC Roku TV
- Run The Roku App and sign in with the TV account.
- Click Devices and select JVC Roku TV to pair.
- Tap Remote and click the Microphone button.
- Say, “Hey Roku, switch input to HDMI 1.”
For JVC Android TV
- Open the Google TV app and sign in to continue.
- Click TV Remote and select JVC Android TV.
- Click the Assistant icon on the remote app.
- Say, “Hey Google, switch input to HDMI 2.”
For JVC Fire TV
- Run the Amazon Fire TV app and sign in with a valid account.
- Select JVC Fire TV to pair with the app.
- After pairing, tap the Alexa icon and say, “Alexa, switch to HDMI <number>.”
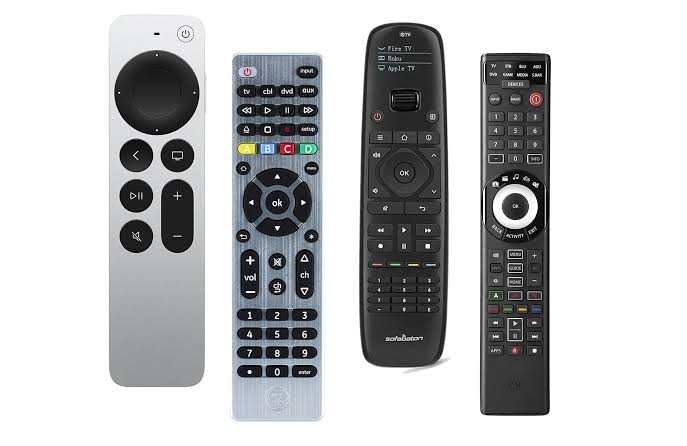
If you aren’t interested in using the above methods, you can buy a new universal remote from Amazon. Then, with the JVC TV remote codes, you can program it with your TV. After that, press the INPUT key on a universal remote and choose the source of your choice.
FAQ
It is because of a loose connection. Eject the cable and connect it properly to the JVC TV’s HDMI port. Then, check if you get a signal properly on your TV.
