Key Notes
- Synchronize Wii remote to Wii Console: Power On the Wii console → Open the SD card slot → Remove the battery on the remote → Press the red sync button → Done.
- Sync Wii Remote to a Wii U: Switch On Wii U → Tap and hold the red button → Remove the battery of the remote → Press the red sync button → Done.
- Sync Wii Remote to Nintendo Switch: Turn On Nintendo Switch → Connect USB-C hub with USB port → Pair Bluetooth adapter → Sync button on Bluetooth → Sync button on remote → Done.
Do you lost connection on the Wii remote and wondering how to sync the remote? No need to worry. You can connect the Wii remote to Wii U or Wii console and other devices like PC, Nintendo Switch, and much more. If you have problems when you want to synchronize the Wii remote, try these troubleshooting methods to fix the issue and prevent it from happening again.
How to Sync Wii Remote to a Wii Console
#1. Check if the Motion Sensor bar is plugged into the Wii Console.
#2. Turn On your Wii console and close all the programs running in the background.
#3. Flip down the SD card slot cover on the front of the Wii, and you can find the Red Sync button.

#4. Remove the battery cover from the Wii Remote, and locate the small red sync button near the batteries.
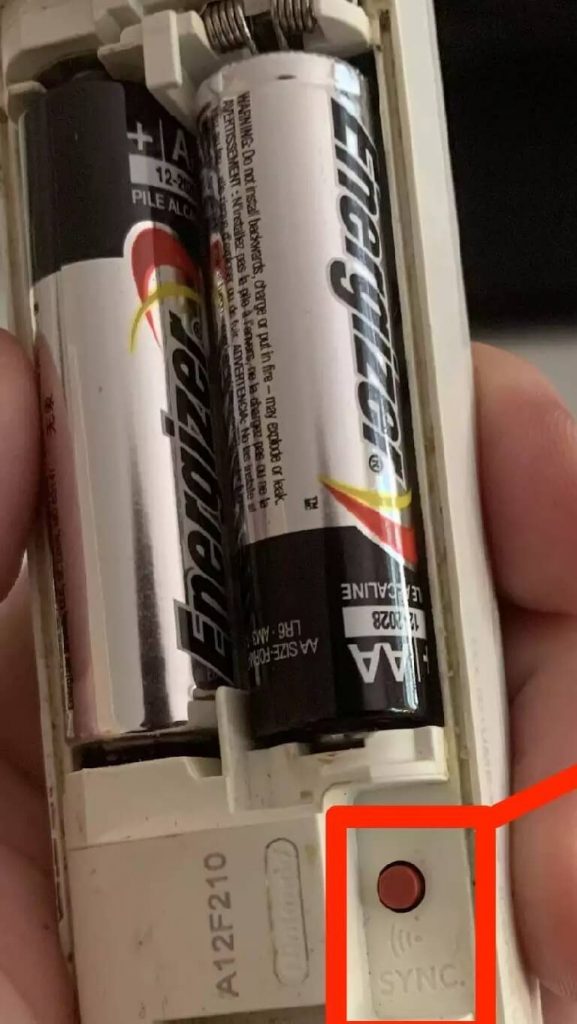
#5. Press and release the red sync button on your Wii remote. The four LED lights on your Wii Remote will start to blink.
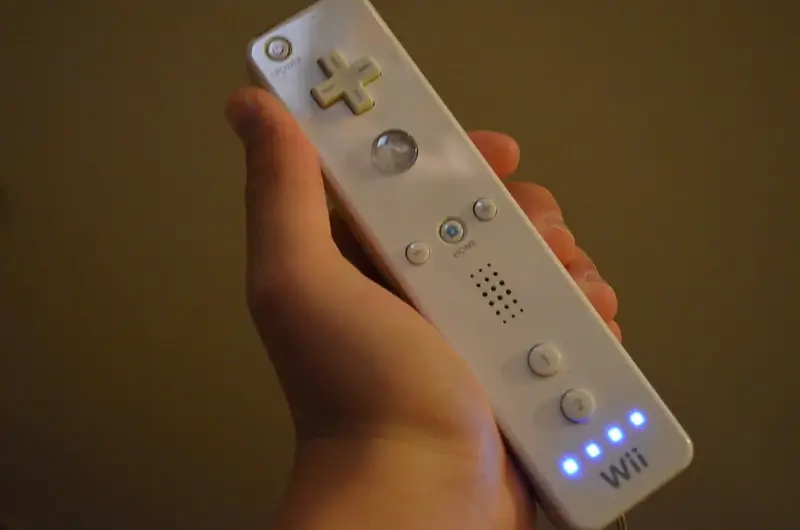
#6.While the lights are blinking, press and release the red sync button on the Wii console.
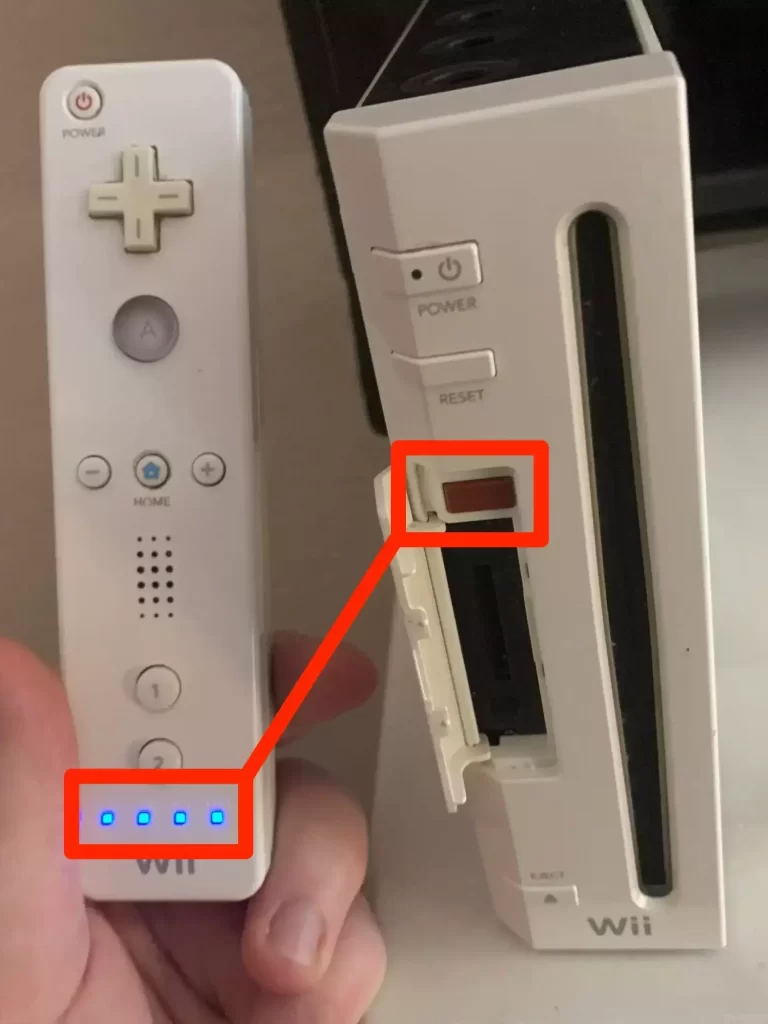
#7. The Wii remote connects successfully if the four LED lights stop blinking. If one solid blue LED light remains lit, it indicates the player number from 1-4.

Repeat the process to pair other controllers, too, as you can sync up to four Wii controllers to one console.
How to Sync Wii Remote to a Wii U
#1. Turn on the Wii U by pressing the Power button.
Tip: To close the background processes, press and hold the Power button for 3 seconds when the Wii U console is in standby mode. Once it turns off, press the Power button again to turn it on.
#2. Tap and hold the red sync button on the front of your Wii U. Hold for a few seconds until the sync menu screen appears.
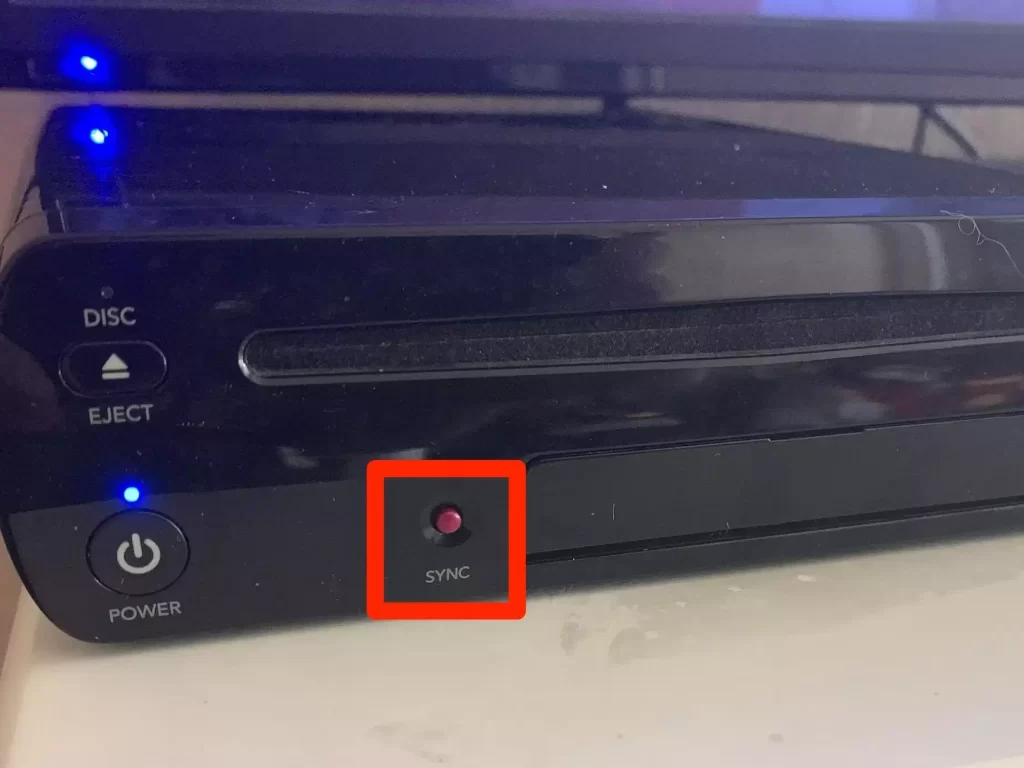
#3. Remove the battery cover from the Wii Remote and locate the small red sync button near the batteries.
#4. Press the red sync button on the back of the Wii remote until the four LED lights start to blink.
#5. When the connection is successful, only one solid blue LED light will remain lit and show on the screen in the 1 box.
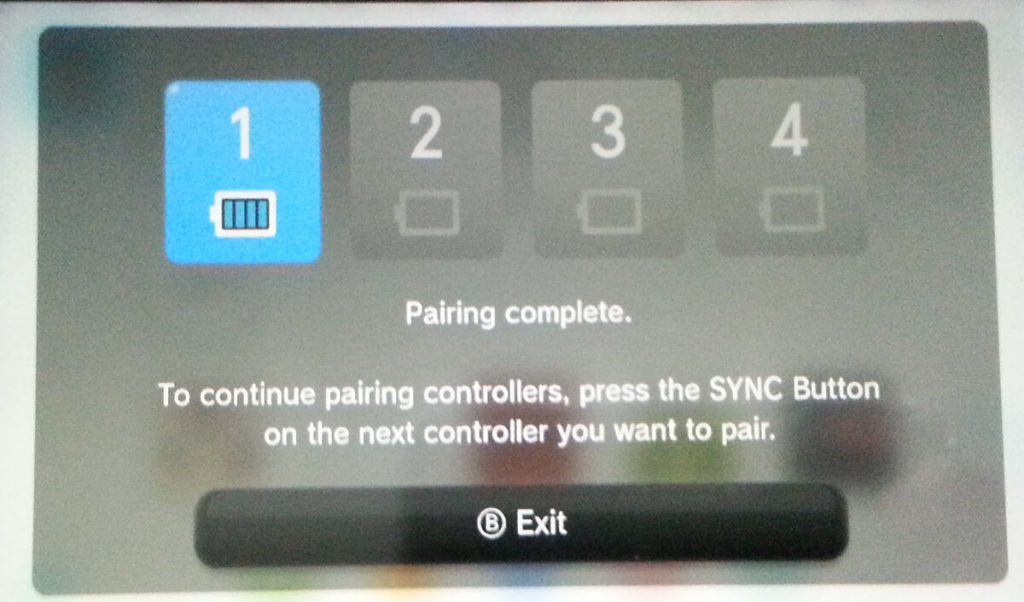
If you want to pair any other controllers, repeat the steps given above. You can connect up to four Wii Remotes to your Wii U, but you can connect only one Gamepad at a time.
Note: If you have a Fire TV Stick, you need to pair Firestick remote to your device to use voice commands.
How to Sync Wii Remote with a Windows PC
You need a Bluetooth connection to connect your Wii Remotes and Consoles, so we can connect and pair them with the PC. However, you should have a motion sensor bar for your PC to use the Wii controller. For this to work, you need to use the controller with a help of a Dolphin emulator.
#1. On your PC, right-click the Bluetooth icon at the bottom and select Add a Bluetooth Device from the list.
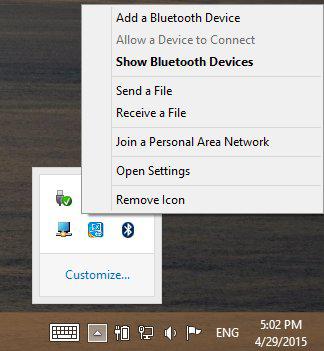
#2. Tap and hold 1 and 2 buttons simultaneously on the Wii remote. And the LED light starts to blink.
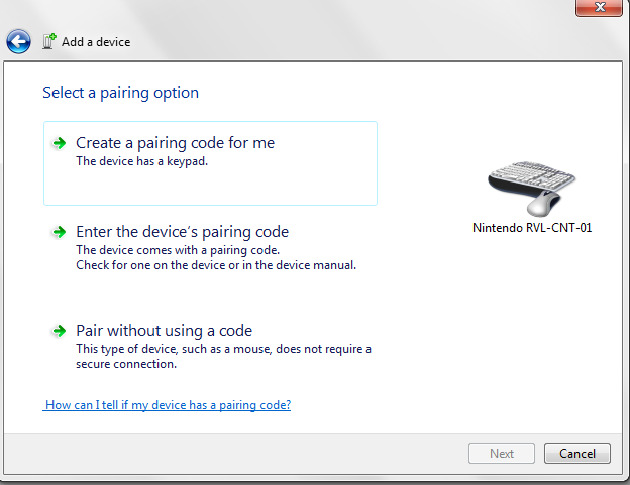
#3. Select the device Nintendo RVL and tap Next to proceed.
#4. Select Pair without using a code and tap the Next button. Wait until it pairs with your PC.
#5. Launch the Dolphin emulator app and Tap the Wiimote icon at the top of your screen.
Tip: You can get this app by visiting the website (https://dolphin-emu.org).
#6. Select Real Wii Remote from the Input source menu.
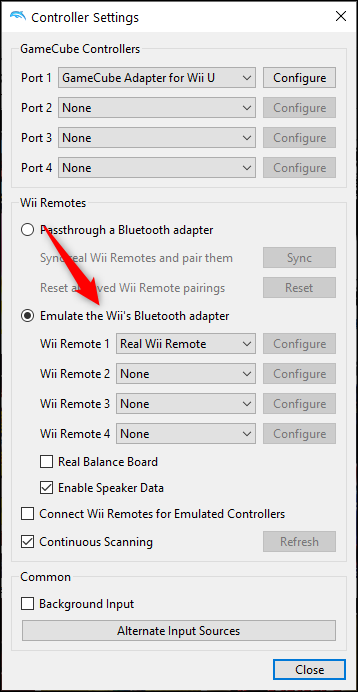
That’s it. Your Wii remote is now ready to play with your Windows PC.
How to Pair Wii Remote to Nintendo Switch
It is possible to connect Wii remote to Nintendo Switch but you can’t directly access the Nintendo Switch with Wii remote. For that, you need a USB-C hub and Bluetooth adapter.
1. Power on the Nintendo Switch.
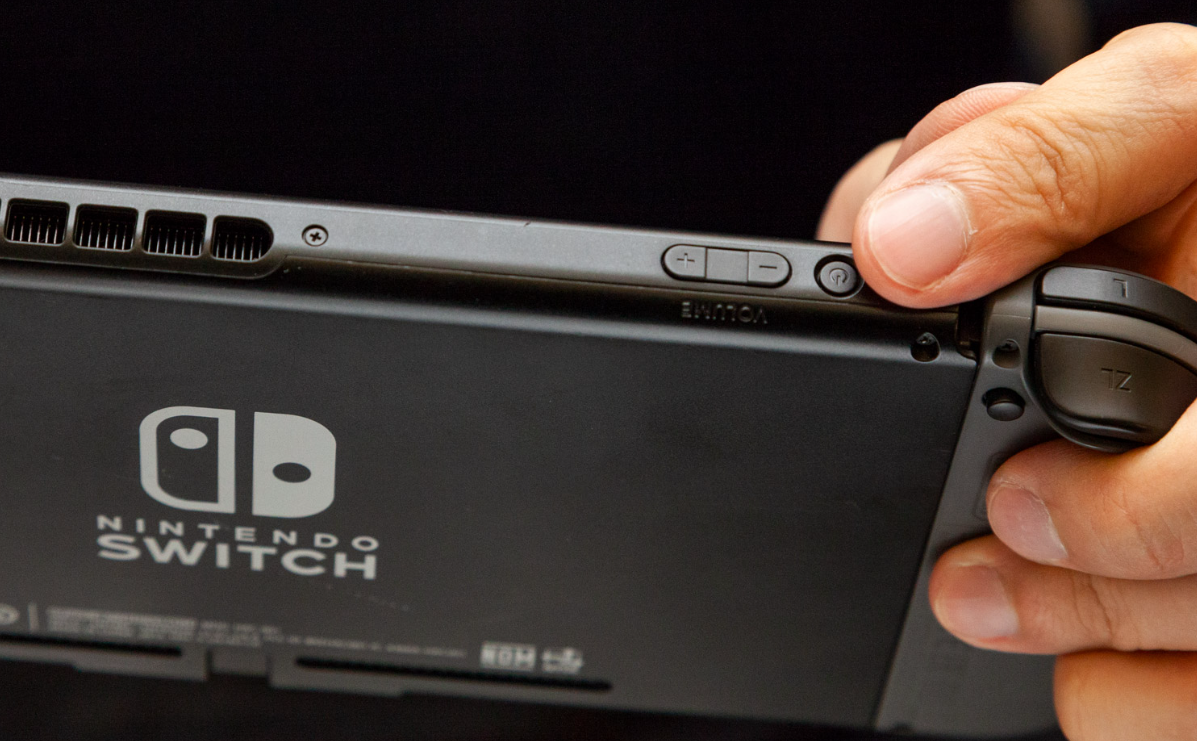
2. Pair the USB-C hub with the USB port of the Nintendo Switch.
3. Connect the Bluetooth adapter to the hub.
4. Press the Sync button on the Bluetooth adapter dongle.
5. Also, hit on the SYNC button on the Wii remote.
6. Thus the Wii remote synchronized with Nintendo Switch
Wii Remote Not Working [Troubleshooting Guide]
Wii remote may not work if you don’t synchronize it properly. Because of that, the remote cursor will not appear on the screen. To fix this, follow these troubleshooting methods.
- Close the background running apps or games, and navigate to your home screen to synchronize your Wii remote.
- Eject the old batteries of the Wii Remote and insert a pair of branded AA batteries. Otherwise, you can power reset the Wii remote by removing the batteries and reinserting the batteries again.
- Reset your Wii remote or Wii U to make it work. For this purpose, unplug your Wii console or Wii U from the power cord, wait for a few minutes, plug it back into the power cord, and try to synchronize the devices.
- If the cursor does not appear on the screen, check if the motion sensor bar is plugged in and placed correctly near your screen. Try to pair again.
- Unpair or remove the Dolphin emulator from Bluetooth, and pair it again to synchronize the Wii remote with the PC.
FAQ
The sync button is situated on the left-hand side near the battery compartment of the Wii remote.
Yes, but you need to download the Wii controller app on your Android device from the Google Play Store.
By default, the Bluetooth pin for the Wii remote is 0000 ( four zeros).
You can connect the Wii remote to Mac using third-party applications like Wiiji, Wjoy, Dolphin Mac, and much more.
Wii remote won’t sync but just blinks due to residual power in the remote. It can be fixed by removing the batteries and re-inserting them back after a few minutes.
![How to Synchronize Wii Remote [Possible Ways] How to Sync Wii Remote](https://smarttvremoteapps.com/wp-content/uploads/2022/08/How-to-Sync-Wii-Remote.png)